Creating a Group in Nextcloud from Keycloak
Learn how to create a group in Nextcloud via Keycloak
Creating a Keycloak Client Role
Introduction
In order for Keycloak to communicate with its clients about what roles exist and who is in them, Keycloak uses "Role Mapping." These roles can then be assigned to groups and/or users afterwards.
Creating a Role
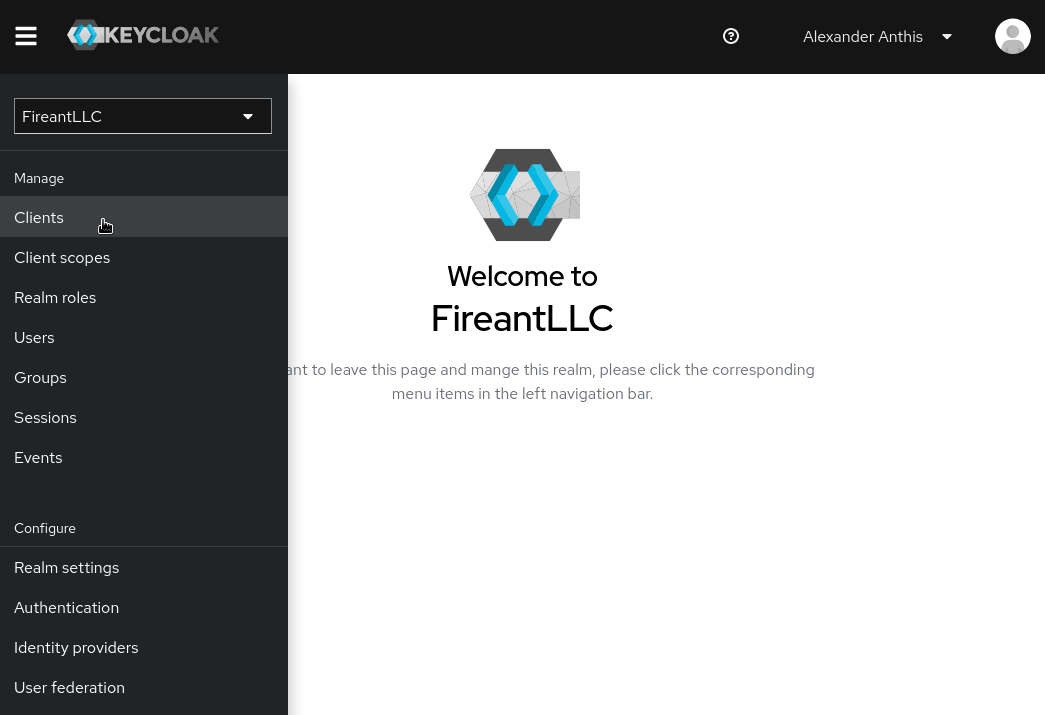
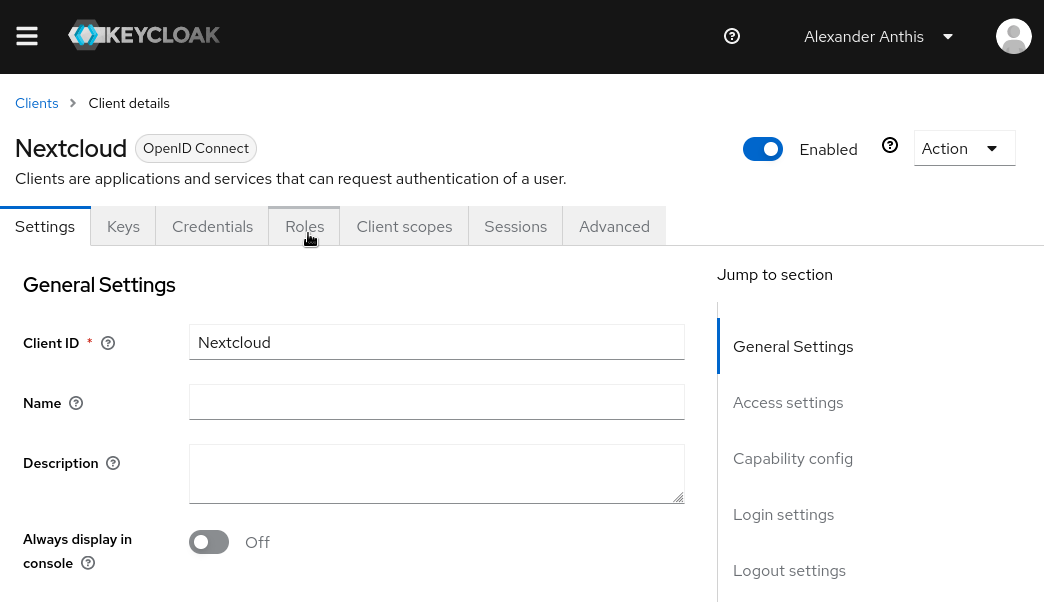
In order to create a role, you must first navigate to the Nextcloud client in Keycloak.

Once you're there, click on the Roles tab.
Then click Create role.
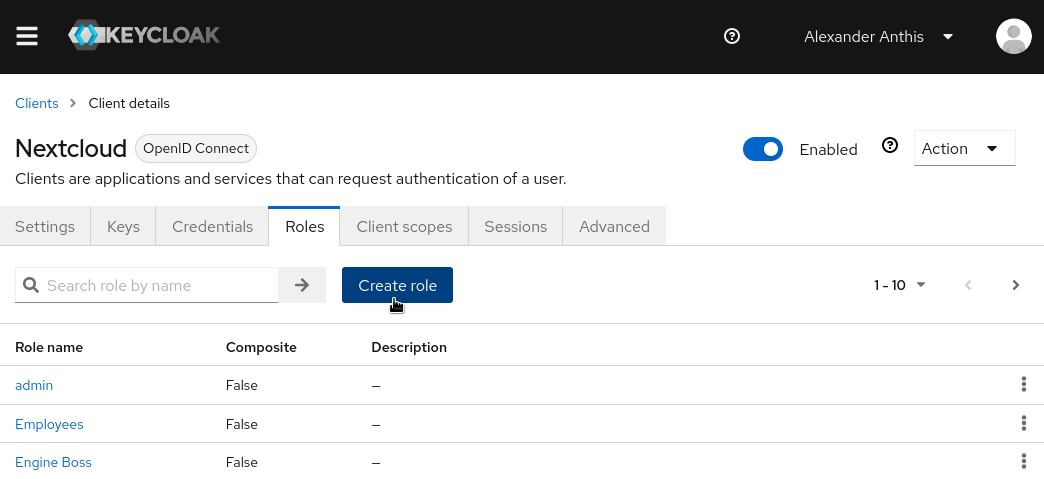
Enter the name of the role, then click Save.
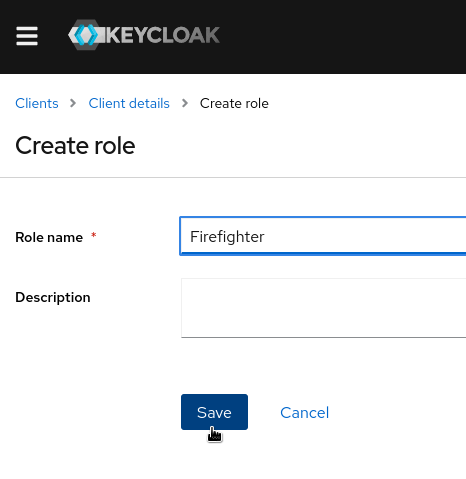
And that's it!
The role will not show up in Nextcloud until a user is assigned to the role, either directly or through a group.
Assigning a Group to a Role in Keycloak
Introduction
Now that you have your role created, you can now assign it to a group. This makes it so adding people to this role along with making modifications is easy and applies to everyone in the group.
Assigning a Role to a Group
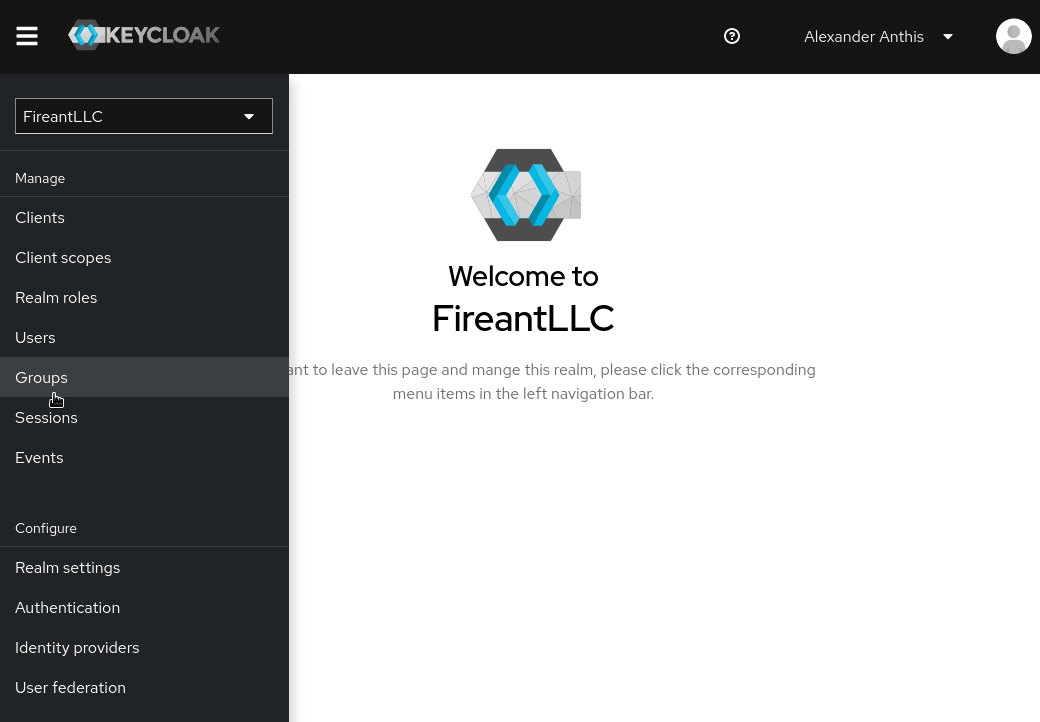
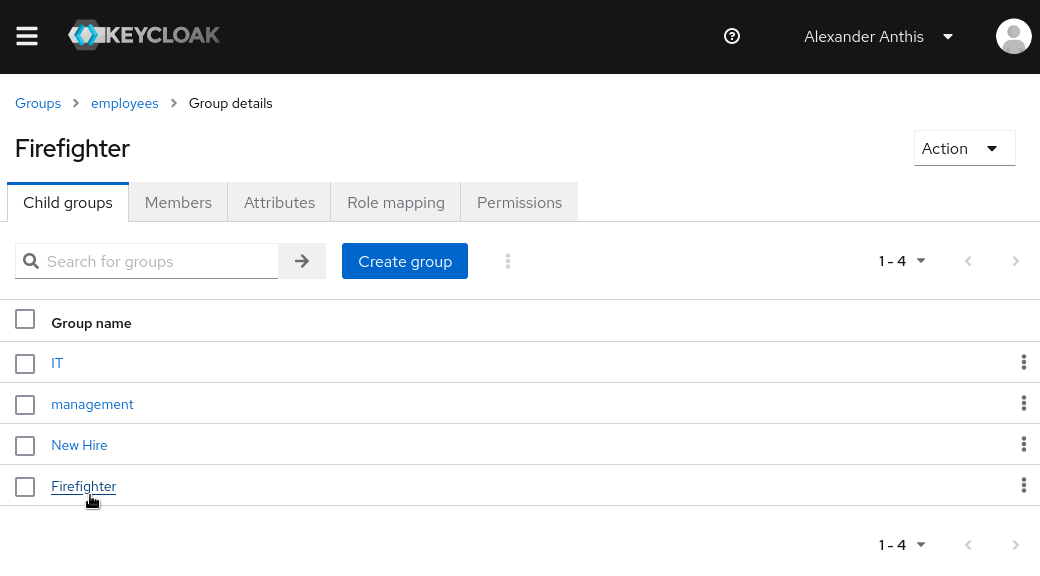
If you haven't already, you should create a group to assign the role to.
First, nagivate to your group.
Then click on the Role mapping tab.
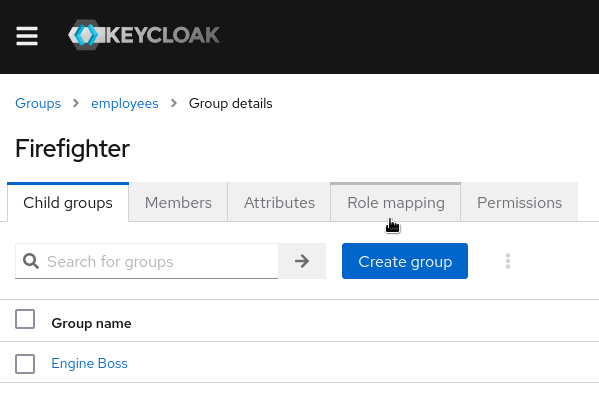
Click on Assign role.

Check the role(s) you want to the group, then click Assign.
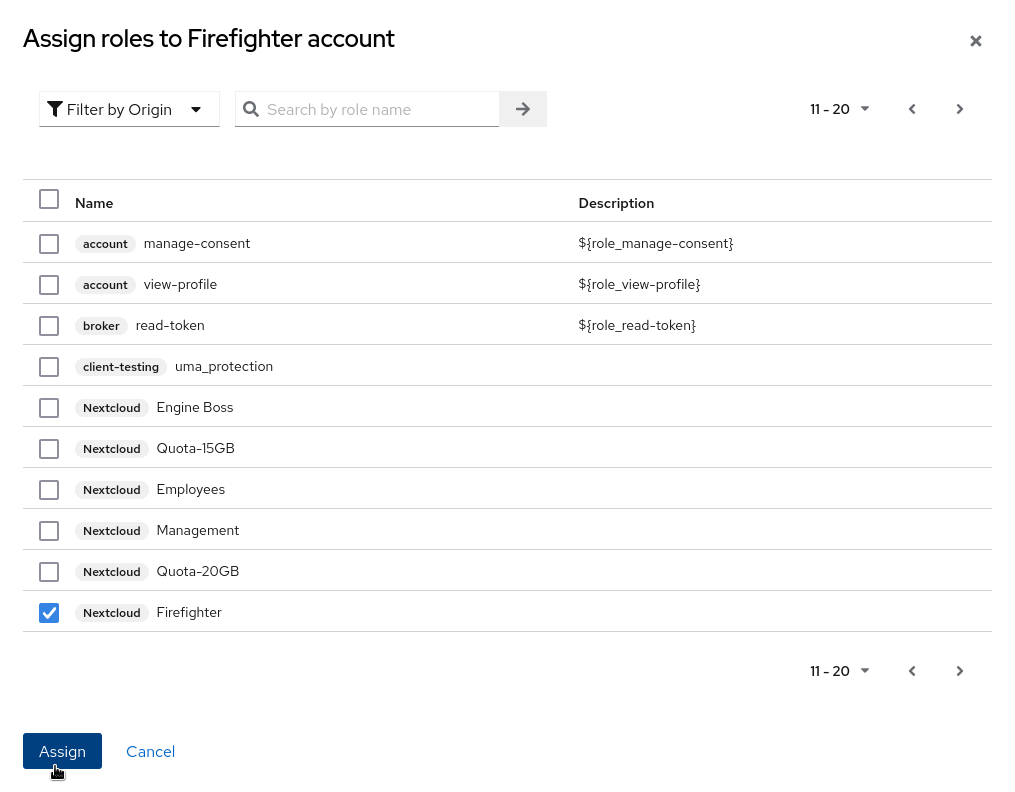
And that's it!
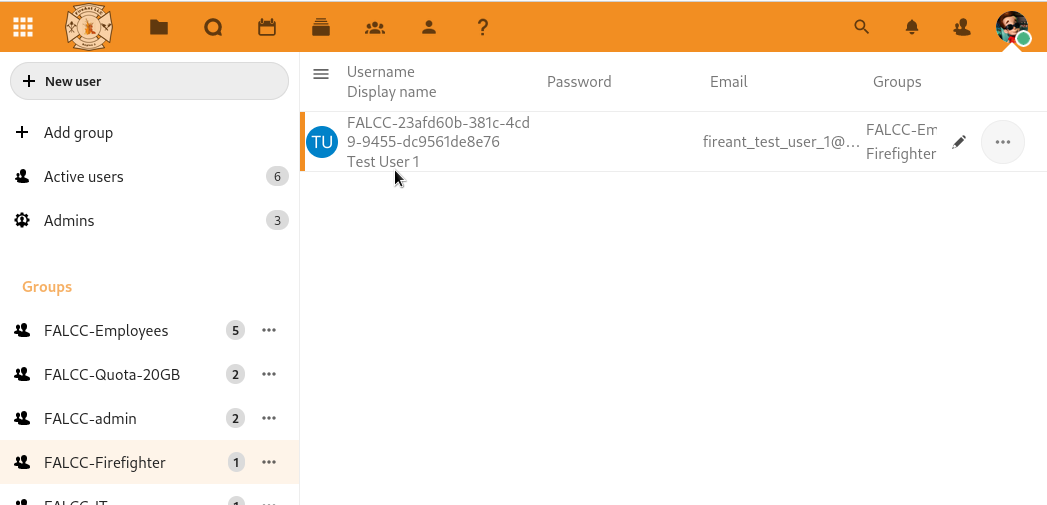
Testing Our Work
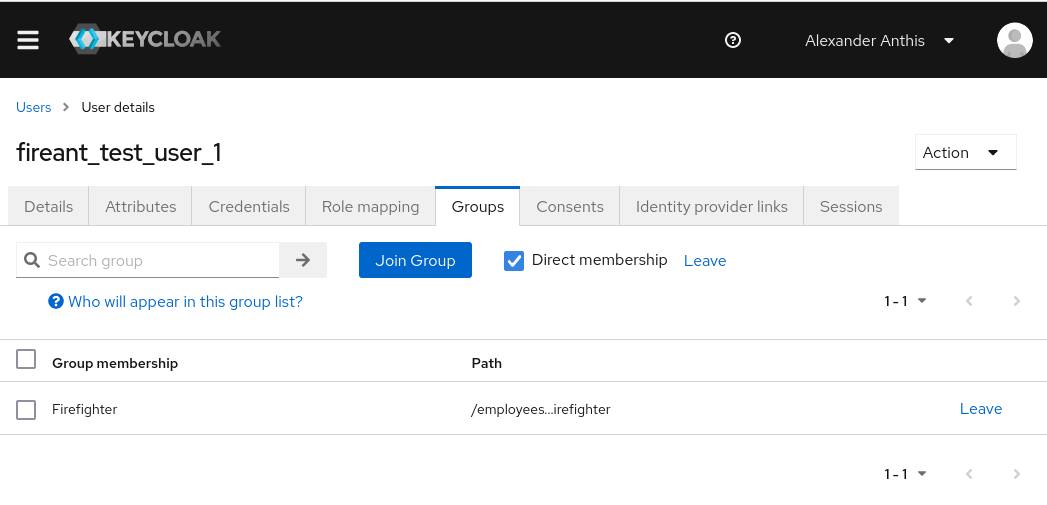
In order to make sure that our changes worked, we can add a user to our group. For this test, I will use the fireant_test_user_1 user.
First of all, I'll assign the user to only the Firefighter group.
Then I'll re-login into the user on Nextcloud. I'll also refresh my Users page on Nextcloud, since I have that open.
In the Users page on Nextcloud, I can see that the Firefighter group is there and that the test user is the only user in it. That means I know it was successful.